Mirror pot
Upcycled Mirror Pot: Reflective Garden Décor with a Recycled Twist
Transform an ordinary plant pot into a stunning reflective piece using upcycled mirrors! This project is a beautiful way to repurpose broken or old mirrors into unique garden décor. The shiny, reflective surface of the mirror pieces adds a chic, modern touch while promoting sustainability by giving new life to discarded materials.
Materials You’ll Need:
- Old or broken mirrors
- Plant pot (any size or material)
- Tile adhesive or strong glue
- Grout (optional for a finished look)
- Grout float or spreader (if using grout)
- Tile cutter or glass cutter (for cutting mirrors)
- Safety gloves and goggles
- Cloth or sponge (for cleaning)
Step-by-Step Guide:
Step 1: Gather and Clean Your Materials
Start by gathering old or broken mirrors that you no longer use. Clean the plant pot to remove any dirt or dust, ensuring the adhesive will stick properly. If you’re working with a ceramic or plastic pot, make sure the surface is dry and smooth.

Step 2: Cut the Mirror Pieces
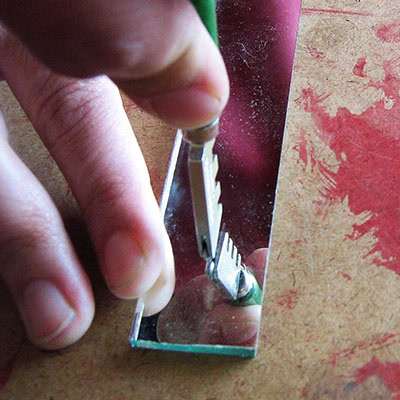
Carefully use a tile cutter or glass cutter to break the mirrors into small pieces. You can create random shapes or more uniform pieces depending on the look you want. Always wear safety gloves and goggles when cutting mirrors to protect yourself from sharp edges and glass shards.
Step 3: Arrange the Mirror Pieces
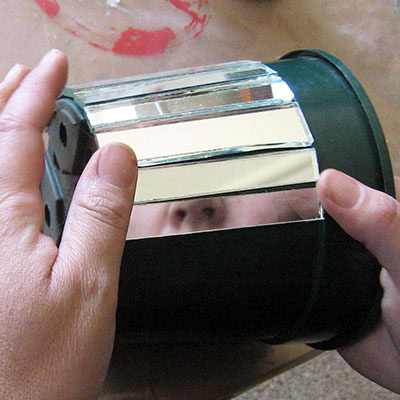
Before gluing, lay out the mirror pieces on the surface of the pot to create your design. This allows you to experiment with patterns and ensure the pieces fit well around the curves of the pot. You can opt for a mosaic style with random shapes or a more structured pattern.
Step 4: Attach the Mirrors
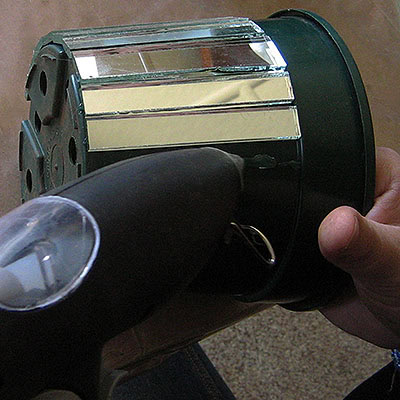
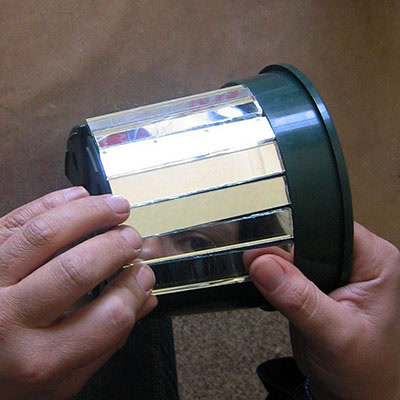
Once you’re happy with your layout, use tile adhesive or a strong glue to attach each mirror piece to the pot. Apply a small amount of adhesive to the back of each piece and press it firmly onto the pot. Continue until the entire surface is covered with mirror pieces, leaving small gaps between them for grout (if using).

Step 5: Grout the Pot (Optional)
If you prefer a more polished finish, apply grout between the mirror pieces. Use a grout float to spread the grout evenly across the surface, making sure it fills the gaps. Once the grout has set slightly, use a damp cloth or sponge to wipe away the excess and clean the mirror pieces.
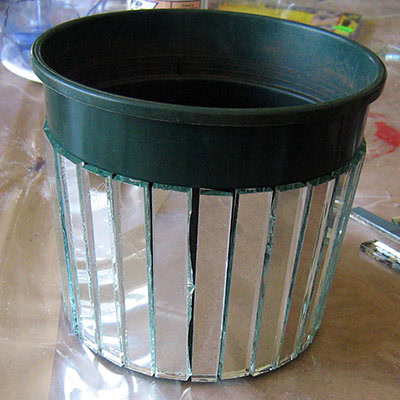
Step 6: Let It Dry
Allow the adhesive and grout to dry completely. Follow the manufacturer’s instructions for drying times, which usually range from 24 to 48 hours depending on the type of adhesive and grout you used.
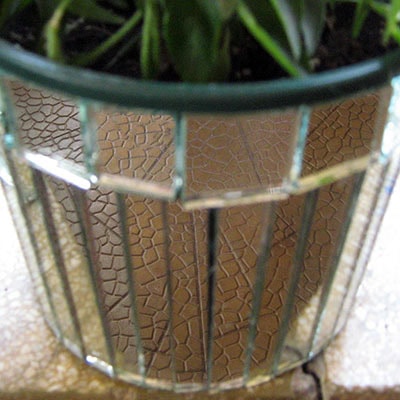
Step 7: Display Your Upcycled Mirror Pot
Your upcycled mirror pot is now ready to shine! Fill it with your favorite plants or flowers and place it in your garden, on a patio, or indoors as a reflective centerpiece. The mirrors will catch the sunlight and create beautiful reflections that enhance any space.
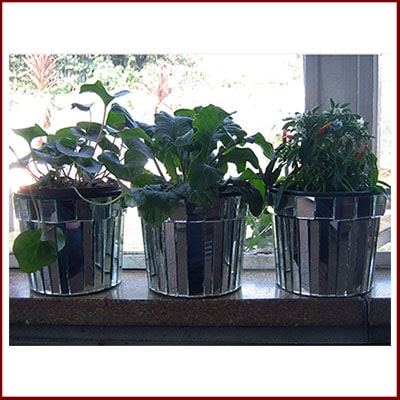
This upcycled mirror pot project is a creative way to give broken mirrors a second life while adding a touch of elegance to your space. Not only will you reduce waste, but you’ll also create a reflective, eye-catching décor piece that’s perfect for indoor or outdoor settings.