Paper mache fruit bowl
DIY Paper Mache Fruit Bowl: Crafting with Recycled Paper
Creating a paper mache fruit bowl is a fun, simple way to transform paper waste into something useful and beautiful. This project is perfect for anyone who enjoys crafting, and it’s also a fantastic way to introduce kids to the concept of upcycling. Follow this easy step-by-step guide to create your own unique paper mache fruit bowl.
What You’ll Need:
- Old newspaper or scrap paper
- Flour (or glue)
- Water
- A mixing bowl
- A balloon or bowl (as a mold)
- Paint and brushes (for decoration)
Let’s get started on crafting your eco-friendly fruit bowl!
Step 1: Prepare Your Materials
Start by gathering old newspaper or any scrap paper you have on hand. Tear the paper into small strips or pieces; this will make it easier to apply during the paper mache process. Set your strips aside and get ready to make the paste.
Step 2: Make the Paper Mache Paste
You can make the paper mache paste using two simple ingredients: flour and water. In a bowl, mix one part flour with two parts water until it forms a smooth, glue-like consistency. If you want a stronger hold or don’t have flour, you can also use regular glue mixed with water (about a 50/50 ratio). Stir until you have a lump-free mixture.
Step 3: Inflate the Balloon (or Use a Bowl)
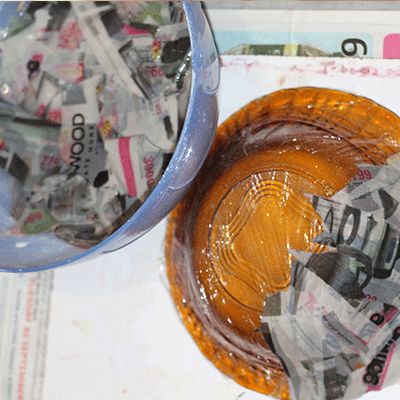
Next, blow up a balloon to the size you want your fruit bowl to be. If you don’t have a balloon, you can use an existing bowl as a mold, but be sure to cover it with plastic wrap to prevent the paper mache from sticking.
Step 4: Apply the Paper Strips
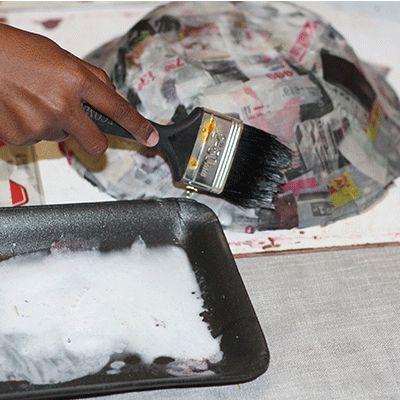
Dip the torn paper strips into the paste mixture, making sure they’re fully covered but not too soggy. Then, lay the strips over your balloon or bowl mold. Cover the entire surface in a single layer, smoothing out any wrinkles or bubbles. Once the first layer is complete, let it dry for a few hours or overnight.
Step 5: Add More Layers
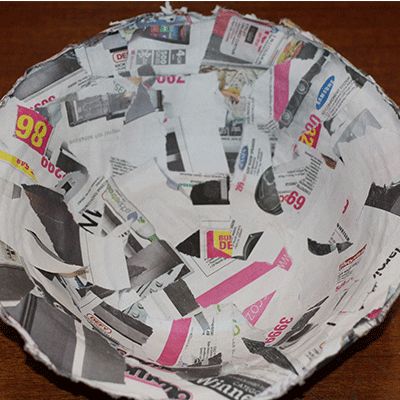
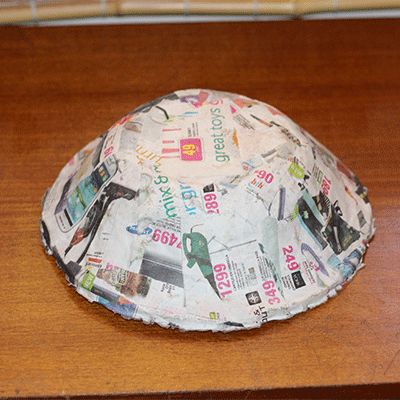
For a sturdy fruit bowl, you’ll want to apply several layers of paper mache. After the first layer has dried, repeat the process by adding more strips, ensuring you cover the entire surface evenly. Aim for at least 3–4 layers for a durable bowl. Allow each layer to dry completely before adding the next.
Step 6: Pop the Balloon or Remove the Mold
Once all the layers are dry and your paper mache feels solid, it’s time to remove the mold. If you used a balloon, gently pop it and pull it away from the paper mache bowl. If you used a bowl, carefully lift the paper mache off the mold, peeling away the plastic wrap.
Step 7: Trim and Smooth the Edges
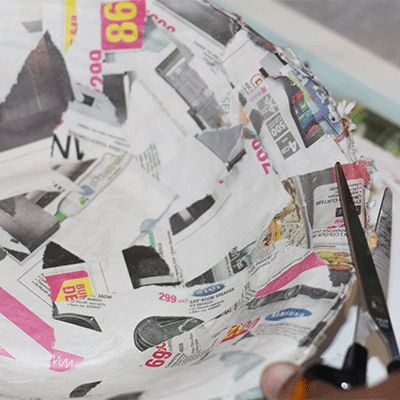
Use scissors to trim any rough or uneven edges around the rim of your bowl. If you’d like a smoother finish, you can lightly sand the edges once they are completely dry. This step gives your fruit bowl a polished look.
Step 8: Decorate Your Bowl
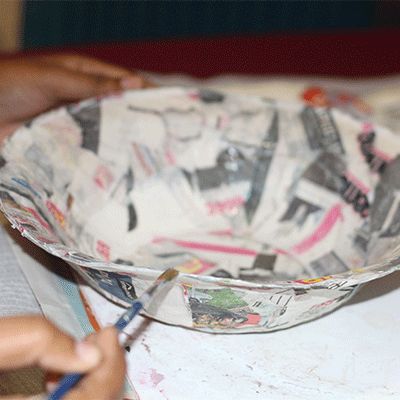
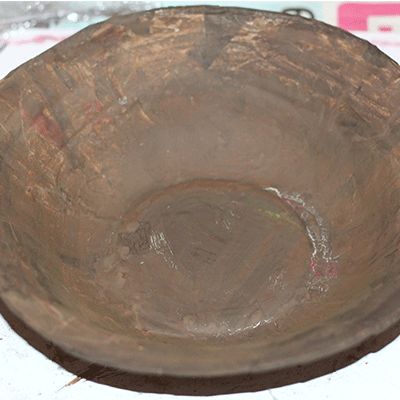
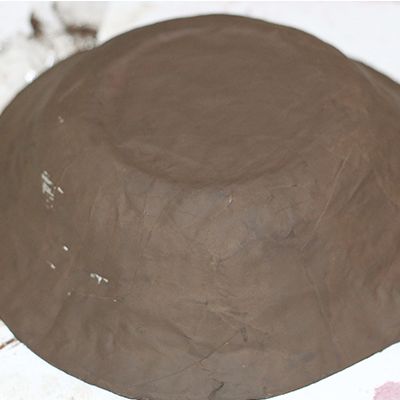
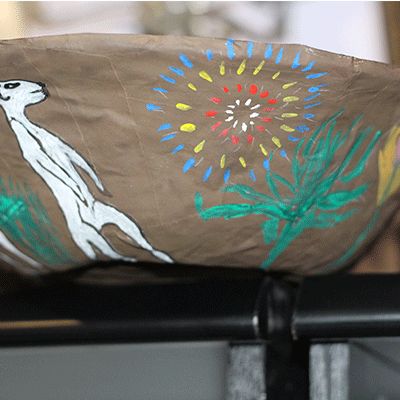
Now comes the fun part—decorating! Paint your paper mache fruit bowl in any colors or designs you like. You can get creative with patterns, textures, or even add a glossy finish by applying a coat of varnish or mod podge after painting. Let your bowl dry completely before using it.
Final Thoughts
Making a paper mache fruit bowl is an enjoyable way to upcycle paper waste into a functional piece of art. Whether you use it to hold fruit, display decorative items, or simply as a centerpiece, this DIY project is a great way to combine creativity with sustainability. Give it a try, and create something beautiful while helping the planet!