Faux wooden door
Faux Wooden Door: Create a Rustic Look with Upcycled Materials
Looking to give your space a rustic, woodsy charm without the expense of a solid wood door? This project shows you how to upcycle materials to create a faux wooden door. It’s an easy, budget-friendly way to add style and warmth to your home.
Materials You’ll Need:
- Existing door (any type, flat surface preferred)
- Faux wood panels or wood planks (upcycled or reclaimed wood is ideal)
- Strong adhesive or wood glue
- Nails and hammer (optional for extra security)
- Saw (if cutting wood to size is necessary)
- Sandpaper
- Stain or paint (optional)
- Clear sealer or varnish (optional)
Step-by-Step Guide:
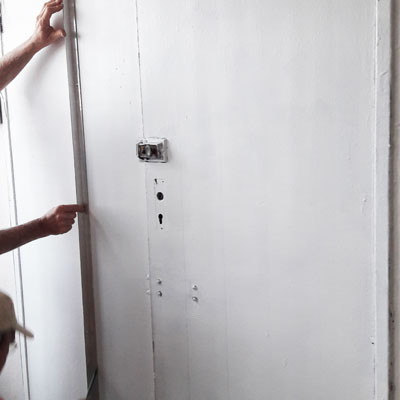
Step 1: Prepare the Door Surface
Start by cleaning the door you plan to transform. If it has any existing paint or finishes, sand them down to create a smooth surface for the wood panels to adhere. Wipe away any dust with a damp cloth.


Step 2: Measure and Cut the Wood Panels
Measure the height and width of the door to determine how much wood you’ll need. If you’re using reclaimed wood planks or faux wood panels, cut them to the correct size using a saw. Sand the edges to smooth out any rough spots.

Step 3: Arrange the Wood Panels
Lay out the wood panels or planks on the door in your desired pattern. You can create a horizontal or vertical plank design, or even a diagonal herringbone pattern for a more decorative look. Make sure the panels fit together tightly.


Step 4: Attach the Wood to the Door
Apply strong adhesive or wood glue to the back of each wood panel and press it firmly onto the door. If you want extra durability, you can also nail the panels into place using small finishing nails. Let the glue dry completely before handling the door further.
Step 5: Stain or Paint the Wood (Optional)
Once the panels are secured, you can choose to stain or paint the wood to achieve your desired look. For a rustic, weathered appearance, use wood stain in natural tones. For a more modern look, paint the door in a solid color. Let it dry completely before moving on.
Step 6: Seal the Door
For added protection and longevity, apply a clear sealer or varnish over the wood. This will help prevent wear and tear and keep the wood looking fresh for years to come.

Step 7: Install the Door
Once the faux wood door is complete and fully dry, reattach any hardware such as hinges, doorknobs, and locks. Install the door in its frame and enjoy your new rustic, woodsy aesthetic!


Additional Tips for Success:
- Play with Patterns: For a creative twist, experiment with different wood patterns like chevron, diagonal, or alternating widths for a more artistic feel.
- Eco-Friendly Options: Use reclaimed wood from old furniture, pallets, or construction sites to make this project both sustainable and budget-friendly.
- Add Decorative Hardware: To enhance the rustic charm, consider adding antique-style hinges, handles, or even barn door hardware for a more authentic look.
With this faux wooden door project, you can achieve the look of a stylish wood door without the high cost. Upcycling materials also means you’re giving new life to items that might otherwise go to waste.