Handmade paper
DIY Handmade Paper: Crafting Sustainability, One Sheet at a Time
Making handmade paper is a fun, eco-friendly way to recycle materials and create something beautiful from waste. Whether you’re looking for a creative project or a way to reduce your environmental footprint, this guide will take you through the process step by step.
What You’ll Need:
- Old paper (newspaper, scrap paper, or any paper material)
- Water
- A blender or food processor
- A wooden frame with a screen (or a DIY frame)
- A basin or large container
- A sponge
- Cloth or absorbent towels
Now, let’s dive into how you can turn paper scraps into beautiful handmade sheets!
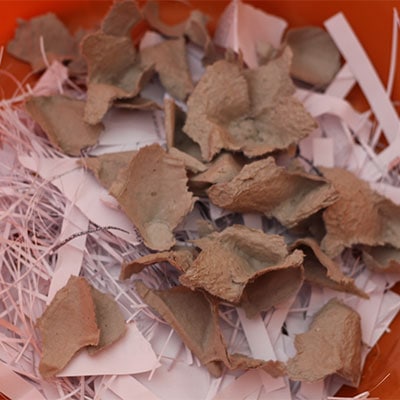
Step 1: Gather and Prepare Your Paper
First, collect all the paper materials you want to recycle. This can be newspaper, old printer paper, or any paper that’s no longer needed. Tear the paper into small pieces, about 1–2 inches each. The smaller the pieces, the easier it will be to blend later. Tip: You can mix different types of paper to create unique textures and colors for your finished sheets.
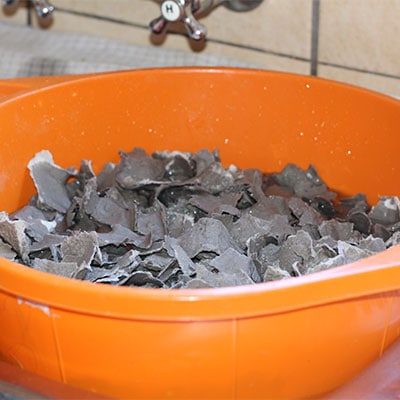
Step 2: Soak the Paper
Place your paper scraps in a large container or bowl, then add enough water to cover them completely. Let the paper soak for at least a few hours—overnight if possible. This helps soften the fibers and prepares them for blending. Pro Tip: Adding warm water can speed up the soaking process.
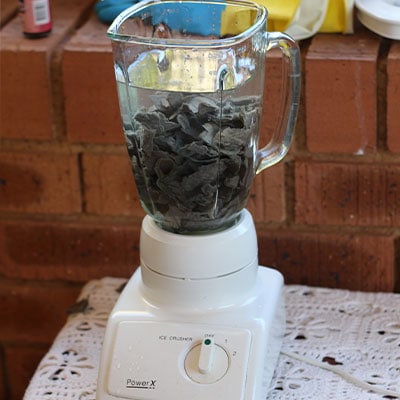
Step 3: Blend It into Pulp
Once the paper is thoroughly soaked, it’s time to make pulp. Transfer the soaked paper and some water into a blender or food processor. Blend the mixture until you achieve a smooth, pulpy texture. If the pulp seems too thick, add more water until it has a smooth, consistent flow. Note: Don’t over-blend! You want the pulp to be well-mixed but still have some texture.
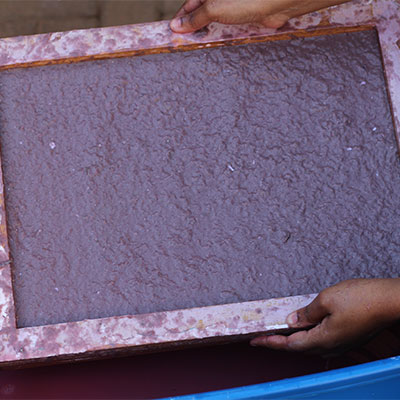
Step 4: Create Your Paper Mold
Now for the fun part—forming the paper! Take your wooden frame and screen (you can make one yourself or buy one), and submerge it in a basin filled with water. Pour the blended pulp over the screen and gently shake the frame to spread the pulp evenly across the surface. The water will drain through the screen, leaving the pulp behind. Quick DIY Frame Tip: Use an old picture frame and staple fine mesh or a screen across it.
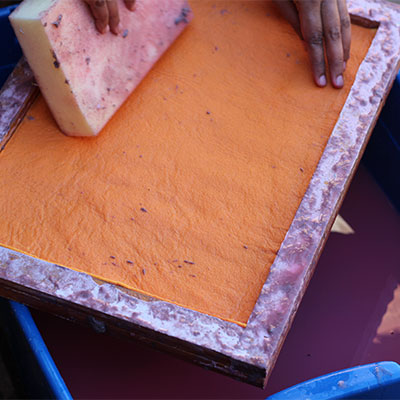
Step 5: Remove Excess Water
After you’ve spread the pulp across the screen, gently lift the frame out of the water. Use a sponge to press down on the pulp, soaking up as much excess water as possible. The more water you remove at this stage, the faster your paper will dry.
Step 6: Transfer the Pulp to a Cloth
Once the excess water is removed, it’s time to transfer the pulp onto a clean cloth or absorbent towel. Flip the screen upside down onto the cloth and press down lightly to release the wet sheet of paper. Slowly lift the frame, leaving the sheet behind.

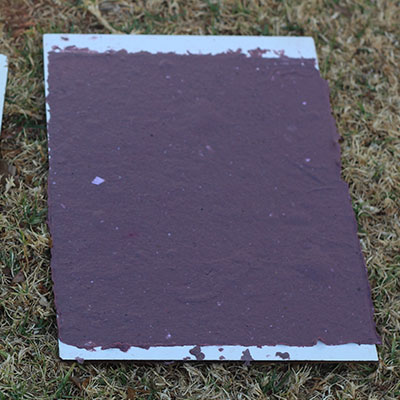
Step 7: Let It Dry
Now that you have your sheet of paper on the cloth, leave it to dry. Depending on the thickness of the paper and the temperature, it may take a day or more to dry completely. You can also speed up the process by placing it in the sun or using a fan. Tip: For a smoother texture, place another cloth over the paper and press it down with something heavy while it dries.

Step 8: Peel and Use!
Once your handmade paper is fully dry, gently peel it off the cloth. Now you have a beautiful, eco-friendly sheet of paper ready to be used for writing, drawing, or any creative project you can imagine!
Final Thoughts
Making handmade paper is not only a rewarding craft but also an excellent way to reduce waste and contribute to sustainability. With just a few basic materials, you can transform everyday paper scraps into beautiful, one-of-a-kind sheets of paper. Whether you’re looking for a weekend DIY project or a long-term hobby, this step-by-step guide will help you get started on your eco-friendly paper-making journey. Give it a try, and remember—every sheet tells a story of creativity and sustainability!