Picture frame
Upcycled Picture Frame: Turn Old Wood into a Beautiful, Rustic Frame
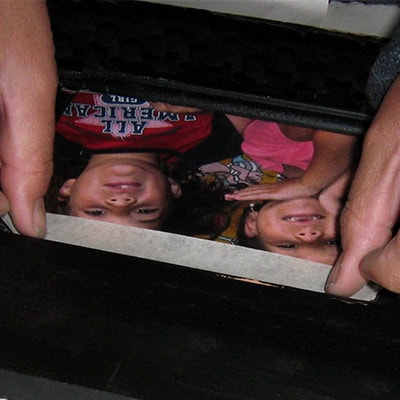
Don’t throw out old wood scraps or unused materials—upcycle them into a charming, rustic picture frame! This project is perfect for adding a personal, handmade touch to your home decor while giving new life to discarded wood.
Materials You’ll Need:
- Old wood (scraps or pieces from pallets, furniture, etc.)
- Saw (if resizing the wood is necessary)
- Sandpaper
- Wood glue or nails and hammer
- Measuring tape and pencil
- Paint or wood stain (optional)
- Picture frame backing and glass (from an old frame or purchased separately)
- Hooks or a hanging mechanism (optional)
Step-by-Step Guide:
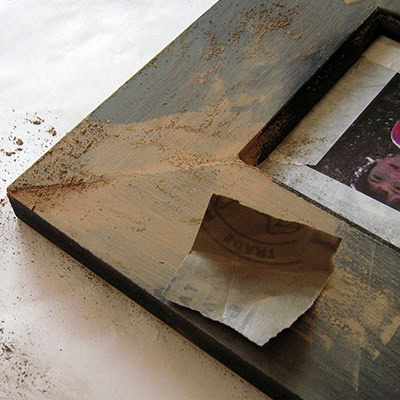
Step 1: Select and Measure the Wood
Choose your wood pieces based on the size of the picture you’d like to frame. If necessary, use a saw to cut the wood to the correct lengths. Measure and mark the pieces to ensure they fit together snugly around the picture.
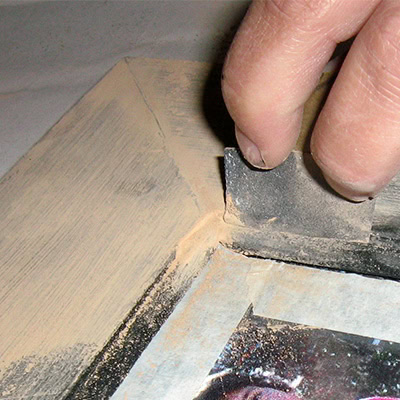
Step 2: Sand the Wood
Once your wood pieces are cut, sand them down to remove any splinters or rough edges. This will give the frame a smoother finish and make it easier to handle.
Step 3: Assemble the Frame
Lay out the pieces of wood in a rectangular or square shape, depending on your design. Use wood glue or small nails to join the corners securely. If you’re using nails, pre-drill small holes to avoid splitting the wood. Allow the glue to dry thoroughly before handling the frame further.
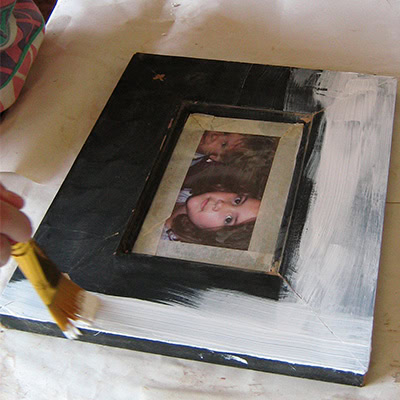
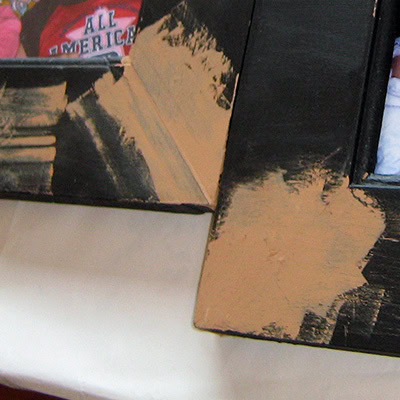
Step 4: Optional: Paint or Stain the Frame
For a more polished or personalized look, paint or stain the frame to match your decor. You can leave it natural for a rustic feel or use vibrant colors to create a bold statement piece. Let the paint or stain dry completely before moving on.
Step 5: Add the Picture Backing and Glass
If you have an old frame, reuse the backing and glass for this project. If not, you can purchase these separately from a craft store. Attach the glass to the front and secure the picture backing with small nails or clips, ensuring that the picture will fit snugly inside.
Step 6: Attach Hanging Hardware (Optional)
If you plan to hang your frame, add hooks or a hanging mechanism to the back. You can use sawtooth hangers, D-rings, or even a wire for larger frames.
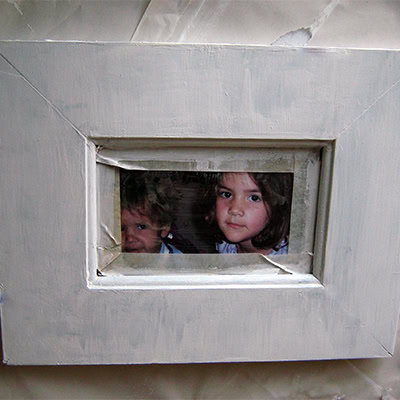
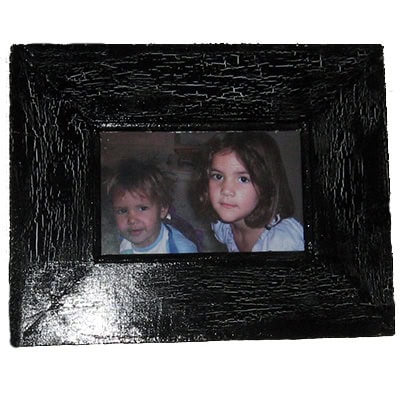
Step 7: Insert Your Picture
Once your frame is fully assembled and dry, place your photo or artwork inside, securing it with the backing. You now have a beautiful upcycled picture frame ready to display!
Additional Tips for Success:
- Mix and Match Materials: You can combine different types of wood or incorporate other materials like metal or fabric to add texture and variety.
- Personalized Touch: Consider adding embellishments such as stencils, decoupage, or decorative nails for a personalized touch.
- Eco-Friendly and Budget-Friendly: By using upcycled wood, this project not only helps reduce waste but also saves money compared to purchasing a new frame.
This upcycled picture frame project is a wonderful way to turn old wood into something both functional and beautiful. Perfect for displaying cherished memories, it’s an easy way to bring sustainability into your home.