“I Love U” blocks
Upcycled Wooden “I Love U” Blocks: A Charming DIY Gift or Décor Piece
Looking for a unique way to express your love or add a personal touch to your home décor? These upcycled wooden “I Love U” blocks are the perfect blend of sustainability and sentiment. Using reclaimed wood and a bit of creativity, you can craft a heartfelt gift or stylish décor piece in no time.
Materials You’ll Need:
- Small reclaimed wood blocks (three pieces)
- Sandpaper
- Paint or wood stain
- Paintbrush
- Stencils or freehand letter templates (“I,” “Heart,” “U”)
- Wood glue (optional, if blocks need attaching)
- Clear sealer or varnish (optional)
- Decorative elements like ribbons, embellishments, or markers (optional)
Step-by-Step Guide:
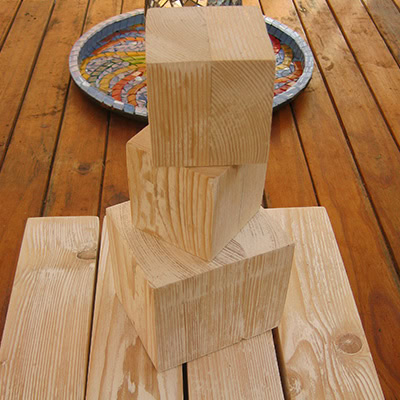
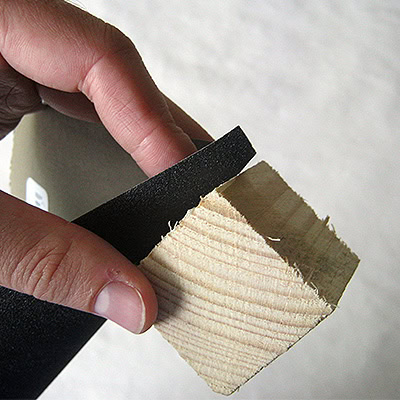
Step 1: Prepare the Wooden Blocks
Start by selecting three small wooden blocks. These can be from leftover wood scraps or old furniture pieces. Sand them down to smooth out any rough surfaces or edges, ensuring a clean base for painting or staining.


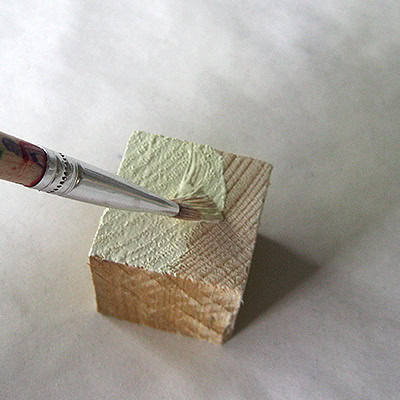
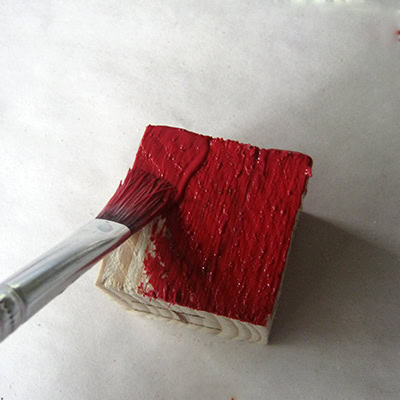
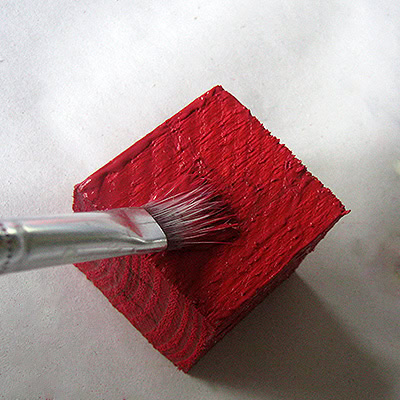
Step 2: Paint or Stain the Blocks
Next, apply a coat of paint or wood stain to the blocks. You can choose a single color for all three, or vary the shades to create a more vibrant, dynamic look. Let the paint or stain dry completely before moving on to the next step.
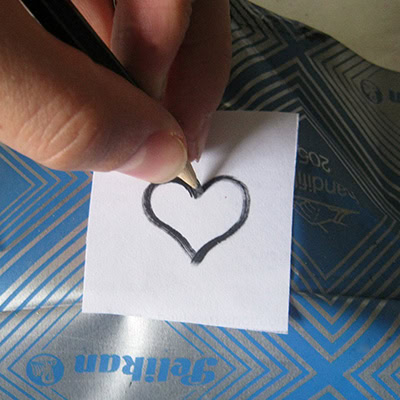
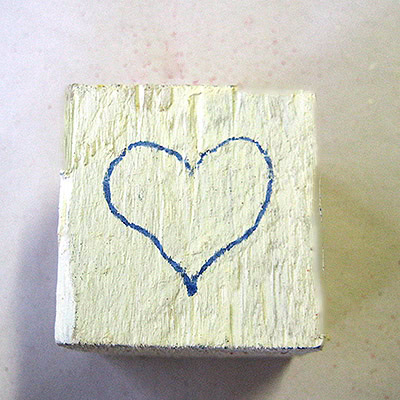
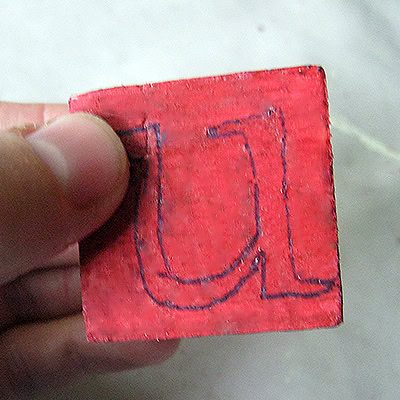
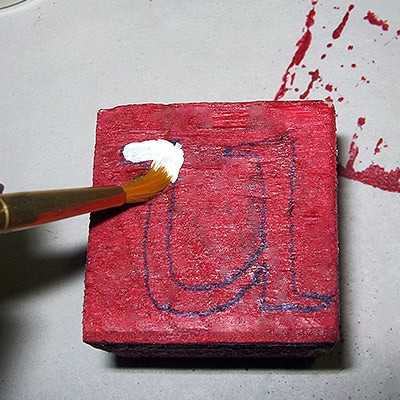
Step 3: Add the Letters
Once your blocks are dry, it’s time to add the lettering. Use stencils or freehand the letters “I,” a heart symbol for “love,” and “U” on the three blocks. Paint the letters in a contrasting color to make them stand out. If you’re feeling creative, you can also decorate the letters with patterns, dots, or stripes.


Step 4: Add Decorative Touches (Optional)
If you want to give your blocks extra flair, you can add ribbons, embellishments, or even small decorative accents to each block. This step is completely customizable, depending on the look you’re going for.
Step 5: Seal the Blocks (Optional)
For added protection and a longer-lasting finish, apply a clear sealer or varnish over the entire project. This will help prevent wear and tear, especially if the blocks will be handled frequently.
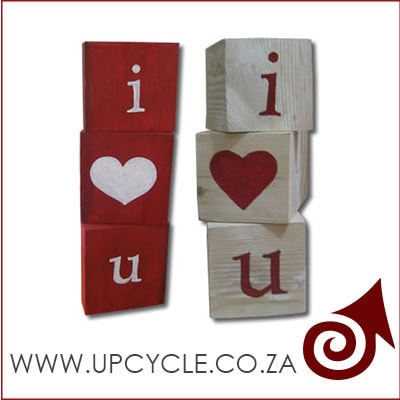
Step 6: Display or Gift Your Blocks
Your upcycled “I Love U” blocks are now complete! Arrange them on a shelf, desk, or mantle as a charming decoration, or wrap them up as a thoughtful handmade gift for someone special.
Additional Tips for Success:
- Personalize the Message: Switch up the letters and symbols to create other short, meaningful messages like “JOY,” “HOME,” or a custom name.
- Eco-Friendly Décor: Using reclaimed wood for this project not only makes it budget-friendly, but it’s also a sustainable way to reduce waste.
- Creative Gift Idea: These blocks make for a heartfelt, personalized gift for Valentine’s Day, anniversaries, or even as home-warming presents.
With just a few simple materials and a little creativity, you can craft these upcycled wooden “I Love U” blocks as a perfect expression of affection. Whether it’s for gifting or personal décor, this project adds a warm, handmade touch to any space.