
What you need:
• Old mannequin (or something similar)
• Any old serviettes you have not yet been used
• Modge podge
• Scissors
• Paintbrush
Step 1
Start by separating the layers of tissue of your serviettes. Some serviettes are two-ply and some are three-ply. You need
to separate these layers. We will be using the top most sheet of tissue paper which normally keeps the strongest colour.
Step 2
After you have separated the ply, tear the tissue paper into small strips. If you have worked with tissue paper and modge
podge before, you can make the pieces a bit bigger, but if you are just starting out, smaller is usually easier.

Step 3
Wash the mannequin, making sure there is no dust or debris on the work surface.
Step 4
Paint a small area of modge podge thinly onto the mannequin, using a paintbrush.

Step 5
Stick bits of tissue paper onto the modge podge. Make sure you cover the surface of the mannequin and that no parts of it
are visible. It's perfectly fine if your strips of tissue overlap, this will just add to the texture to your finished
lamp.

Step 6
Dip your brush into some modge podge and paint this over the surface of the tissue paper. This will help it stick to the
mannequin and provide a protective barrier. Try to brush it in a way that the serviette strips are flat, you want to try
and avoid getting too many creases, bubbles and folds.

Step 7
If you are not used to working with modge podge and tissue paper and find that you are getting lots of holes in your
finish, use a bit more podge and try not to brush over the same area too many times. Wet the brush with podge properly so
that it is fully primed, this will make it slide easier.
Step 8
Keep going, covering the entire mannequin with your base colour.


Step 9
Once you have covered the entire mannequin in your base colour, hold it up to the light and look for holes or areas you
may have missed, and patch these.
Step 10
Now we can look for some old serviettes with pretty designs and cut out the designs that we want to use. If the serviette
with the design has a similar colour to your base colour, you don't have to cut it out perfectly, but if there is a lot of
contrast between the two, it is better to cut out the design perfectly.

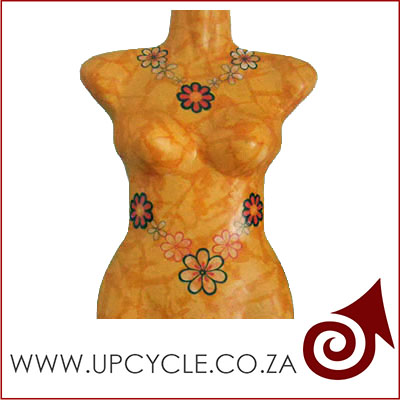
Step 11
Plan where your design is going to go, and then, using the same method as your base colour, paste the design in place.

Step 12
Make sure to work very neatly as the designs will stand out and mistakes will be considerably more noticeable.


Step 13
Once your mannequin is complete, you can fit a bulb into the body to turn it into a lampshade. Or, for a more eco-friendly
option, install LED lights along the back, or you could simply use a glue gun to glue a set of Christmas lights onto the
back and light-up a dull area of a room, creating a soft glow.

For mor information please contact us.