What you will need:
A 2ltr milk bottle
Various coloured ribbons
Tissue paper, in colours to match your ribbons
Craft knife
Scissors
Punch
Pen / marker
Working surface
Step 1
Take your recycled milk bottle, rinse it out properly and remove the label.


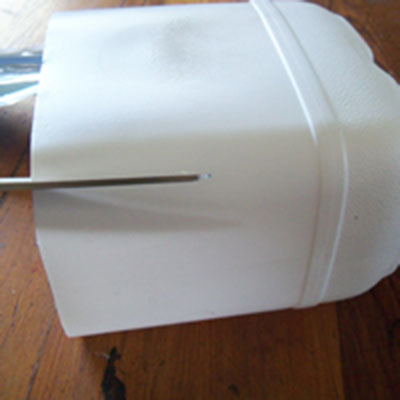
Step 2
Use your craft knife and or scissors to cut the top of the bottle completely off (use the plastic moulding line on the bottle as a guide). It is easier if you first make a small incision with your craft knife, and insert your scissors into the incision to cut around the plastic bottle.


Step 3
Hold the base of your milk bottle, and using your scissors, cut four incisions, one at each corner of the milk bottle. Cut right down and stop just before the bottom ridge (plastic moulding line).
Step 4
Using your marker pen, draw a curve on each flap (created in Step 3) to create rounded corners on each flap.
You need to mark the two sides (narrower flaps) so that the height of each is about 5cm. Then mark the one long side (without the date stamp) so that the height is at 6cm. Now mark the 'lid' flap (which is the side with the date print) at 9cm in height.


Step 5
Using your scissors trim the corners off to create the rounded flaps of your gift box.
TIP: Ensure that you cut your marker lines off, or you can rub them off. Use methylated spirits to clean off permanent marker lines; otherwise they will look unsightly on your finished product.


Step 6
Save the trimmed bits of plastic. Looking at your plastic milk bottle offcuts, find a nice, big piece.


Step 7
Fold the piece of plastic in half. Cut a heart shape (or any other shape you desire) from this. Use your scissors to cut half the heart shape and fold open to reveal the finished heart. Then you can punch a hole through the heart shape to create your upcycled name card!


Step 8
Now back to your upcycled gift box. Fill the box with some coloured tissue paper and your chosen gift!

Step 9
We can begin folding the gift box closed.
Fold the two short sides in first, and then the front (side with no date stamp).

Step 10
Lastly, fold the back flap down to create the lid (side with the date stamp), and the place a length of ribbon around the shorter width of the box and tie a knot to keep the lid flap down.


Step 11
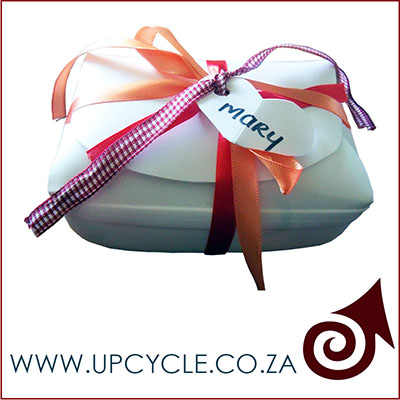
Thread a length of ribbon through your recycled plastic heart. Add further ribbons should you wish, around the wider width of the box, for added impact, and then tie your heart shape name card (with name printed on) to the final product.


Step 12
Wonderful! You have successfully created a beautifully functional upcycled gift box made by recycling an old plastic milk bottle!