What you will need:
- 1 X Plastic Milk Carton (washed and clean)
- Pliers
- Side cutters
- Head pin
- Earing Loop
- Craft knife
- Scissor
- Ruler
- Working surface
Step 1:
Take your plastic milk carton, remove label and use your craft knife and or scissors to cut the top half of the bottle complete off. Cut the base of the bottle off too.


TIP: Use the plastic moulding lines on the bottle as a guide and cut neatly along them.
You will be left with a plastic middle section which you will cut right down the width of it, to create lengths of plastic.
Step 2:
Now using your ruler, and a pencil, mark out a 1cm width strip along the width of your plastic. Cut using your ruler and craft knife for a straight cut strip of plastic, and ensuring an even width. You have now created strips of plastic.
Step 3:
Take one strip of plastic and roll it between your fingers to soften the plastic and get it into shape for your project.
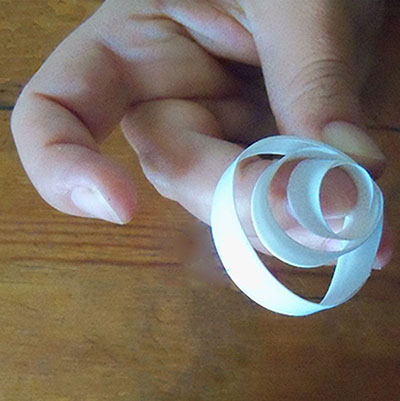
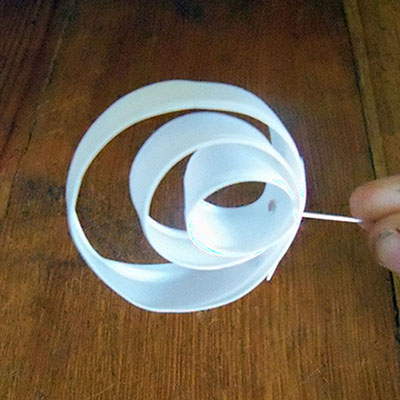
Step 4:
With the head pin in one hand and the roll of plastic in the other, you want to pierce the roll with the headpin, from the inner side, i.e. push the headpin through the plastic, from the inside of the roll. Now continue to pierce the plastic at each loop, ensuring that the loops are larger at each interval. End the roll, with the outer end pinned just at the base of the head pin (for a neat finish)
TIP: (you can always trim the plastic strip with a pair of scissors to neaten the finished item)


Step 5:
You will now need to trim the headpin, down to an approximate 1/1.5cm in length, using your side cutters. Then, using your pliers, create a hook in the end of the head pin.
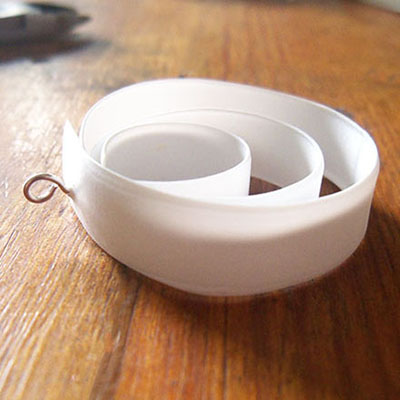
Step 6:
Before closing the hook, slide the earring loop onto it. Now, using your pliers, gently turn the hook in on itself to close the loop, securing the earring hoop on it. You will now have successfully joined the two items to each other.
Step 7:
And there you have it! Repeat the entire process, from Step 3 - 5, to create a second upcycled earring... third, fourth... As many as you wish!

For more information, please contact Winnie.