
Upcycle are suppliers of wood and wooden recycled pallets for use in furniture making and upcycle projects. Contact Mark for more info. 082 855 2236
What you will need:
• Wood saw, electric or manual
• Router, or chisel
• Wood glue
• Wood clamps
• Length of wood
• Sandpaper
• Mallet

Step 1
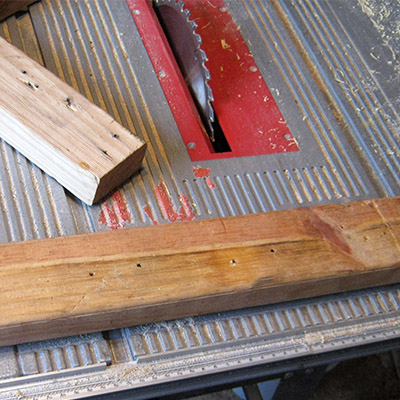
Select a length of wood that you can cut into two equal lengths, in this project my piece of
wood was 680mm x 40mm x 70mm.
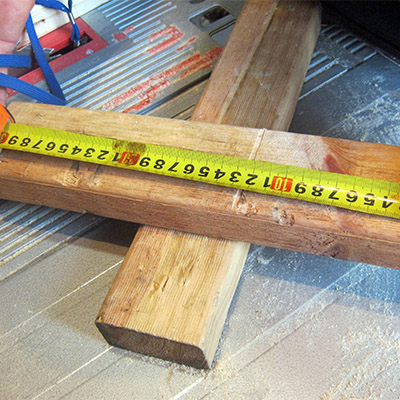
Step 2
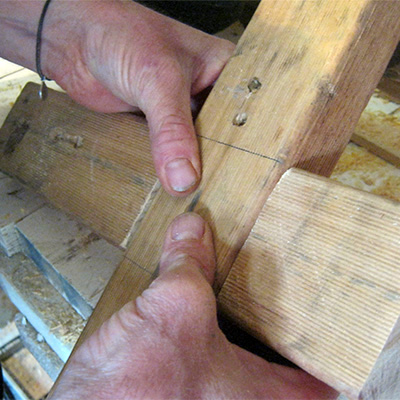
Measure your wooden beam, find the centre point and rule a line here.


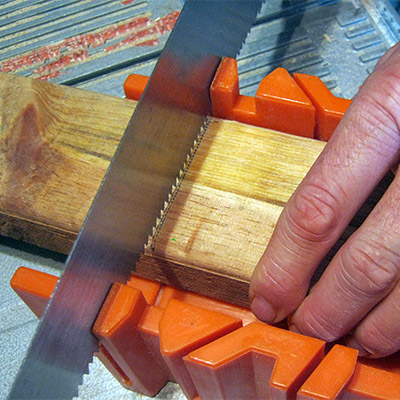
Step 3
Use your wood saw and a mitre box (if you have one) to cut the beam in half. In my case I now
have two beams that are each 340mm in length.

Step 4
Using your pencil, mark off the width of the centre beam so that you know where to cut. The
marks should be about two thirds of the way up on the piece of wood that will be the upright
beam. My wood beam is 70mm wide, so the distance between the two pencil marks should be 70mm.

Step 5
Clamp your wooden beam to your work bench. Now take your router and set it to half the
thickness of the beam (20mm) - we only want to cut halfway down.

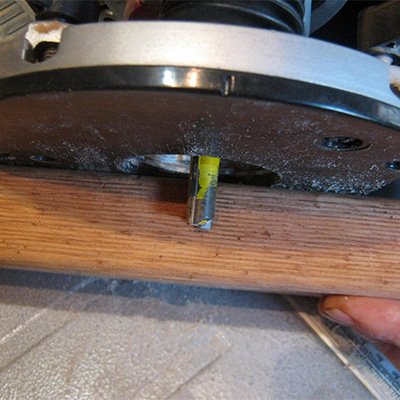
Step 6
Now you need to use your router (or wood chisel) and remove the wood between the two lines.
It's a good idea to work slowly and carefully, making sure not to over-cut.

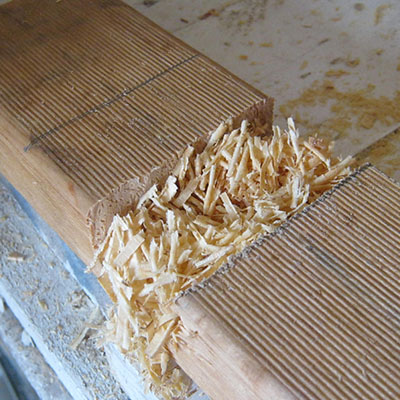
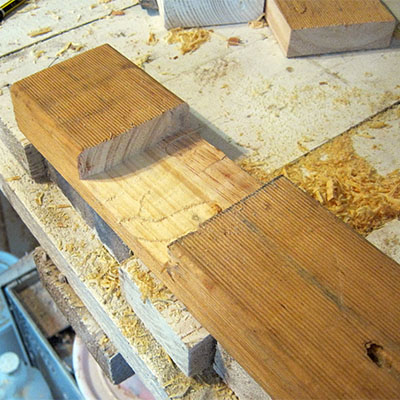
Step 7
Once you have removed all the wood up to and including your pencil lines, your beam should
look something like this.
Step 8
Now mark off the next area, this beam will be for the horizontal beam of your cross. Measure
and find the centre of the beam, and then use your pencil and tape measure to measure 35mm on
either side, so that you have two pencil lines in the middle of the beam that are 70mm apart.

Step 9
Remove the wood between the lines using your router. You should now end up with two beams with
a section of wood removed.


Step 10
Using sandpaper, sand the edges that are rough from the sawing and routing.

Step 11
Match the two areas together so that the cuts interlock. Check to ensure that they slide
together, even if you have to hammer them with a mallet. The final product should be that the
crossed pieces are now flush with each other.

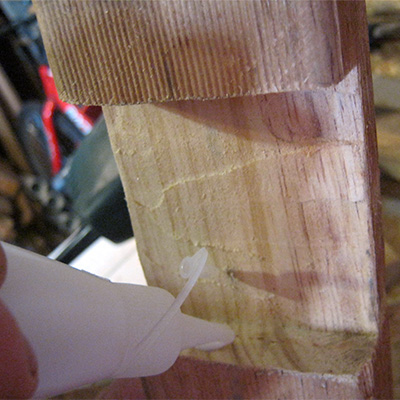
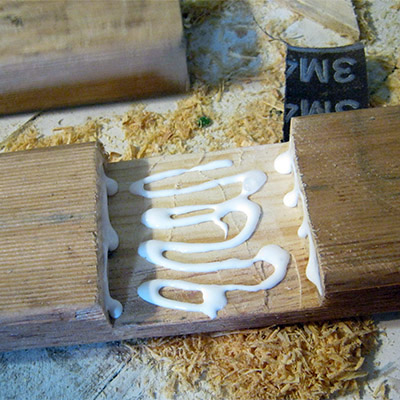
Step 12
If the pieces of recycled wood match nicely, it is time to glue them together. Glue along the
edges, as well as on the face of the wood.
Step 13
Once you have applied the glue, press firmly or clamp to make sure the wood glues together
properly.
Step 14
Congratulations, your recycled Upcycle cross is now complete!

