What you will need:
Ice-cream Sticks (This craft needs 32 ice-cream sticks)
Glue (Craft wood glue)
Paint (If your plan to paint your recipe holder)
Paint Brushes
Decorations for your Recipe Holder (Optional)

Read through all the instructions first before starting this craft. Make sure you have everything you will need at hand
and your working area is clean and tidy. Cover your surface with plastic or brown paper.
Step 1
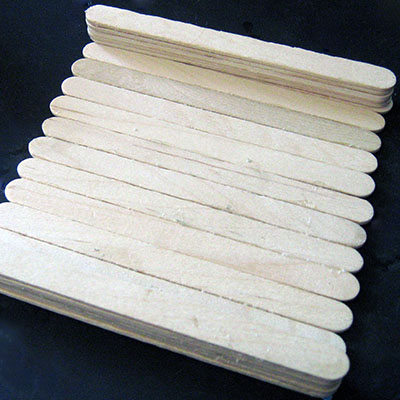
Glue 12 wooden ice cream sticks lengthwise together in a row. (This will serve as the back of your recipe holder, the
wooden ice cream sticks should face upwards)

Step 2
Glue another 7 wooden ice cream sticks lengthwise together in a row (these will be the front of your recipe holder, they
will need to be placed in the opposite direction to the back wooden ice cream sticks, and they should face lengthwise)

Step 3
Stack and glue 5 wooden ice cream sticks on top of each other (do this twice, making two stacks of 5 sticks)
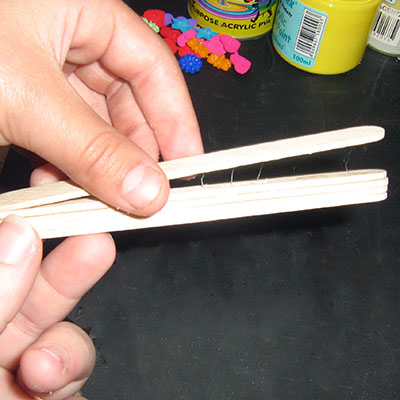
Step 4
Take one stack of 5 wooden ice cream sticks and glue them to the 12 sticks back, along the longest side. Then repeat with
the other stack of 5 on the opposite side.
Step 5
Glue the row of 7 wooden ice cream sticks on top of the stacks of 5 wooden ice cream sticks.

Step 6
Turn recipe holder over. Glue 2 wooden ice cream sticks together to create a V shape and attach (glue) to the top of the
recipe holder to create a hanger.

Step 7
Then once everything is glued together, paint (if you want to) or decorate your recipe holder.

Step 8
Give this wonderful handmade gift to your Mother, Aunty, Grandmother or any other special person in your life.
